
When it comes to maps Google services are even more confusing than when you are undecided where to upload photos to (Drive, Picasa or Google+). There is a wild variety of options:
- classic My Maps for creating a Google Map
- more recent Maps Engine (lite) to create maps on separate layers
- geocoding locations in Fusion Tables
- geocoding locations in Google Sheets using an add-on
- recording a trip, route or tour with MyTracks Android App and saving to Drive
- placing photos on a map using Picasa (not available in G+ Photos yet)
- creating a tour on Google Earth
In the past I used options 1 and 5 most frequently for creating maps for school trips and for presenting them with photos on a map on Open Days, etc. Google has made it clear, however, that it is favouring Maps Engine over other services (e.g. by changing the export option in MyTracks to MapsEngine from MyMaps and Fusion Tables) when it comes to custom maps. For this reason I have decided to give it a try in a real life situation. For my upcoming trip to England I needed to create two maps (and share them with my students).
A) Creating a map of all host families where the students are accommodated using Google Sheets
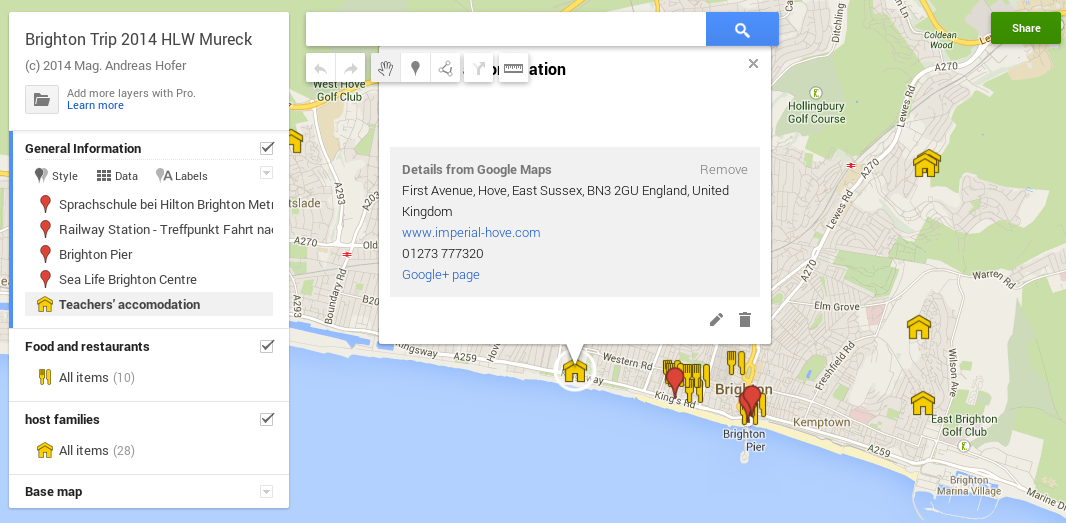
We will be staying in Brighton for a week and I have created a map of Brighton containing three layers (maximum for the lite version): general information, restaurants and host families.
The information for the “host families” layer comes simply from a Google sheet which I received from the tour operator and which I imported right after creating the layer. When importing you need to tell Maps Engine which column to geocode. The final step is to change the placemark icon. I have used houses for accommodation and knife and fork for restaurants.
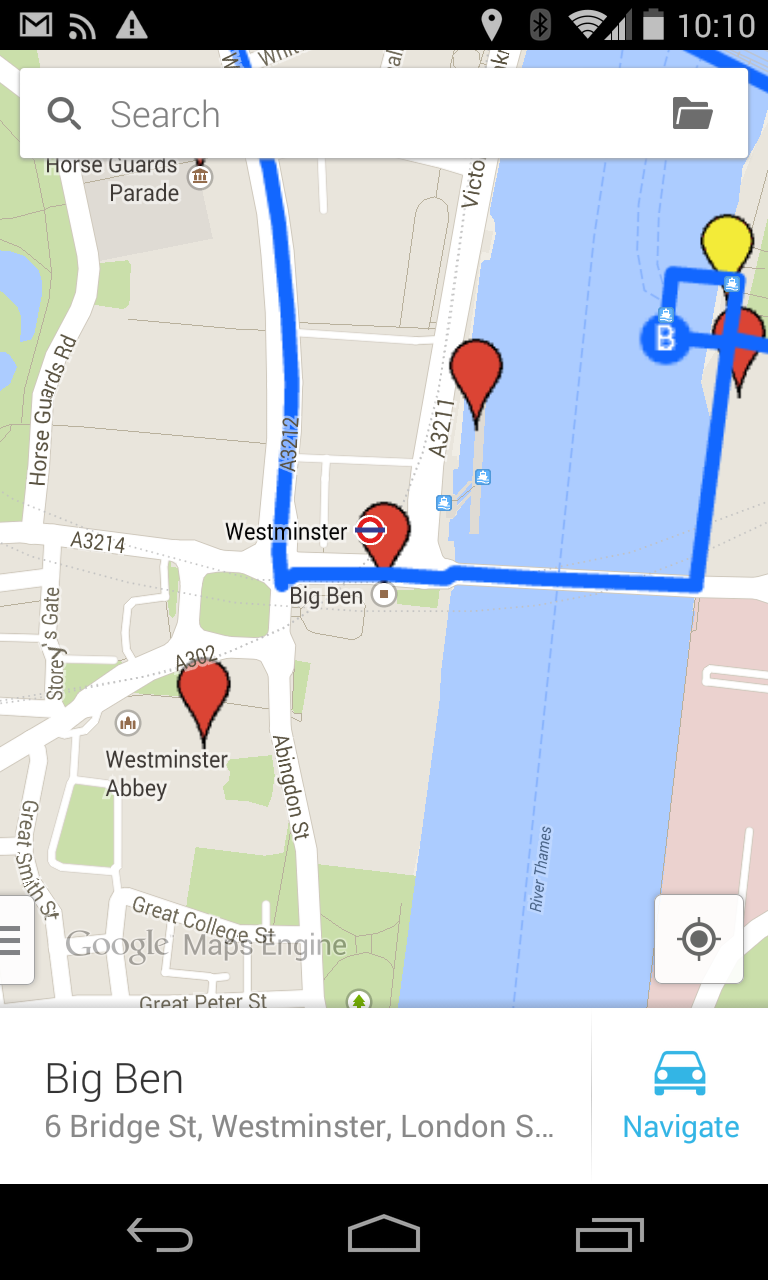
B) Creating a map for a day trip to London including walking route and meeting points
We will go on a day trip to London as well. So I have created a map which shows the route we will be taking using the walking route tool (first click on the draw line tool and then choose the walking route). It works very intuitively: just drag and click to add places.
Then I added some general places of interest which the students will be able to visit on their own during free time on a separate “sights” layer. And finally I colored in the meeting points.
Creating these maps was fun and easy, despite my initial reluctance to use Maps Engine. I would have preferred Google MyMaps instead. Apart from having the disadvantage that you have two different apps both on the web and on mobile, the biggest drawback of Maps Engine is that you can’t save a map on a mobile device like in Google Map, which of course would be highly useful on a trip abroad.
Having said that, there are also a number of nice features to Maps Engine:
- It works like other Drive apps including sharing, publishing and embedding
- Layers are definitely a bonus as they make the map more legible
- Importing data from a Google sheet and automatic geocoding is a huge time saver
- The mobile app allows you to use the phones sat nav system
- You can export in kml format (e.g. to Drive just to keep a backup, or to Google Earth for a presentation)
.png)


